


My First Experience Shooting 4x5 Film
My first experience shooting a 4x5 camera came with a few lessons and areas to grow in. It was quite a fun challenge, however!

Shooting 4x5 Film
My latest challenge…
BACKGROUND
I’ve owned an early 20th century Speed Graphic since 2017…however, it’s only been until May of 2020 that I’ve finally exposed some Portra 160 with it. My results weren’t bad per se—if anything, at least I know the camera works and I am able to sell it in order to upgrade to a better 4x5 later. I’ll explain why further down.
Speed Graphic + Zeiss Tessar 13,5cm 1:4,5
Kodak Portra 160
THE EXPERIENCE
This camera smells old. Like that dusty thrift store kind of old. The box it sits in is rusting around the edges. But thankfully, everything seems to still be intact. The focus rails are smooth to glide the lens down, the lens isn’t sticky at any aperture, the bellows don’t seem to be leaking any light. I think it’s pretty solid for the $250 that I paid for it. The only issue I have with it is it’s lens. Apparently none of the optics are coated so flare control, micro-contrast, and color rendition suffer. And it’s pretty obvious. The image, while somewhat sharp, has a bit of a glow, softness, and harsh vignette to it (which I’m not totally particular to). I much prefer a clean image with micro-contrast and pop all across the glass. It’s an early 20th century press camera with a Zeiss lens that I can’t find much info on anywhere…so, that tells me that it’s nothing that was ever sought after—even with the Zeiss name.
I AM NOT PERFECT
I can’t get ahead of myself when discussing older gear because I am sure I’ve only scratched 5% of what my issues with this first-time-shooting-4x5 are. Maybe I have issues with some of my film holders and light leakage, maybe I have poor quality ground glass for the focus screen, maybe the Zeiss lens is in fact a great lens (however, I feel pretty confident it’s just subpar). At the end of the day, however, this camera was intended for speed and efficiency for journalists and news outlets.
The film I was using was an older box of Portra 160 that I had purchased in 2017 and it has endured a few moves across states, spending time in and out of multiple refrigerators, etc. The first time I opened the box, I actually dropped the naked film onto a dusty basement floor (of course it was in the darkest corner I could find). So, there may be a lot of factors at play here.
RAW scan with the Fuji SP2500 + PS Stitching
Speed Graphic + Zeiss Tessar 13,5cm 1:4,5
Kodak Portra 160
Color and contrast balanced in PS.
Speed Graphic + Zeiss Tessar 13,5cm 1:4,5
Kodak Portra 160
IMAGE QUALITY
As you can see, I’ve had to do quite a bit of doctoring to the images in post. I’ve enhanced the vibrancy, contrast, and sharpness and gotten results that are passable…but still, there isn’t much point to shooting large format if your glass can’t render the cleanest, brightest, and most pleasing colors to the image as possible.
Speed Graphic + Zeiss Tessar 13,5cm 1:4,5
Kodak Portra 160
COST TO SHOOT, DEVELOP, AND SCAN 4X5
Images like the one above hurt the wallet and ego a bit. Between my dad’s confused expression and my blinking eyes, this moment is forever this way. Moments like this aren’t always bad tho. I’ll always prefer mid-reaction shots as I feel that the truest in humanity is revealed in them…but still, shots like this typically don’t end up anywhere other than a post like this.
In total, this shot cost me around $15. Yikes. But solid education and experience is forever priceless.
Speed Graphic + Zeiss Tessar 13,5cm 1:4,5
Heat-exhausted Kodak Portra 160
SCANNING THE NEG
Fortunately, I have invested into a Fuji Frontier SP3000 scanner and I am able to take total control of the scanning process and achieve fantastic color and sharpness with my negatives. The image of my dad above is my first attempt at scanning a 4x5 negative with the 645 mask. This was stitched together with 8 images but as you can see I missed scanning a few slivers of the negative.

Speed Graphic + Zeiss Tessar 13,5cm 1:4,5
IN CONCLUSION
It’s been a fun experience so far but I know I have a much longer way to go until I start to find results that I am able to showcase. The challenge with 4x5 is that researching large format systems feels like an entirely new language to me. I haven’t found as broad of a community offering as much info as the 35mm and 120 communities do—at least one who all can simultaneously agree on a select few lenses and bodies as the main go-to choice for shooting large format photography. Large format bodies and lenses along with their specs don’t make much sense to me at this point. This will probably be a multi-year quest to find the perfect match for me.
Thank you for sticking around through this post. I’d love to hear any recommendations or comments that you have regarding large format photography, or maybe some criticism on what I could have done better with the images above.
Until next time!
Trent
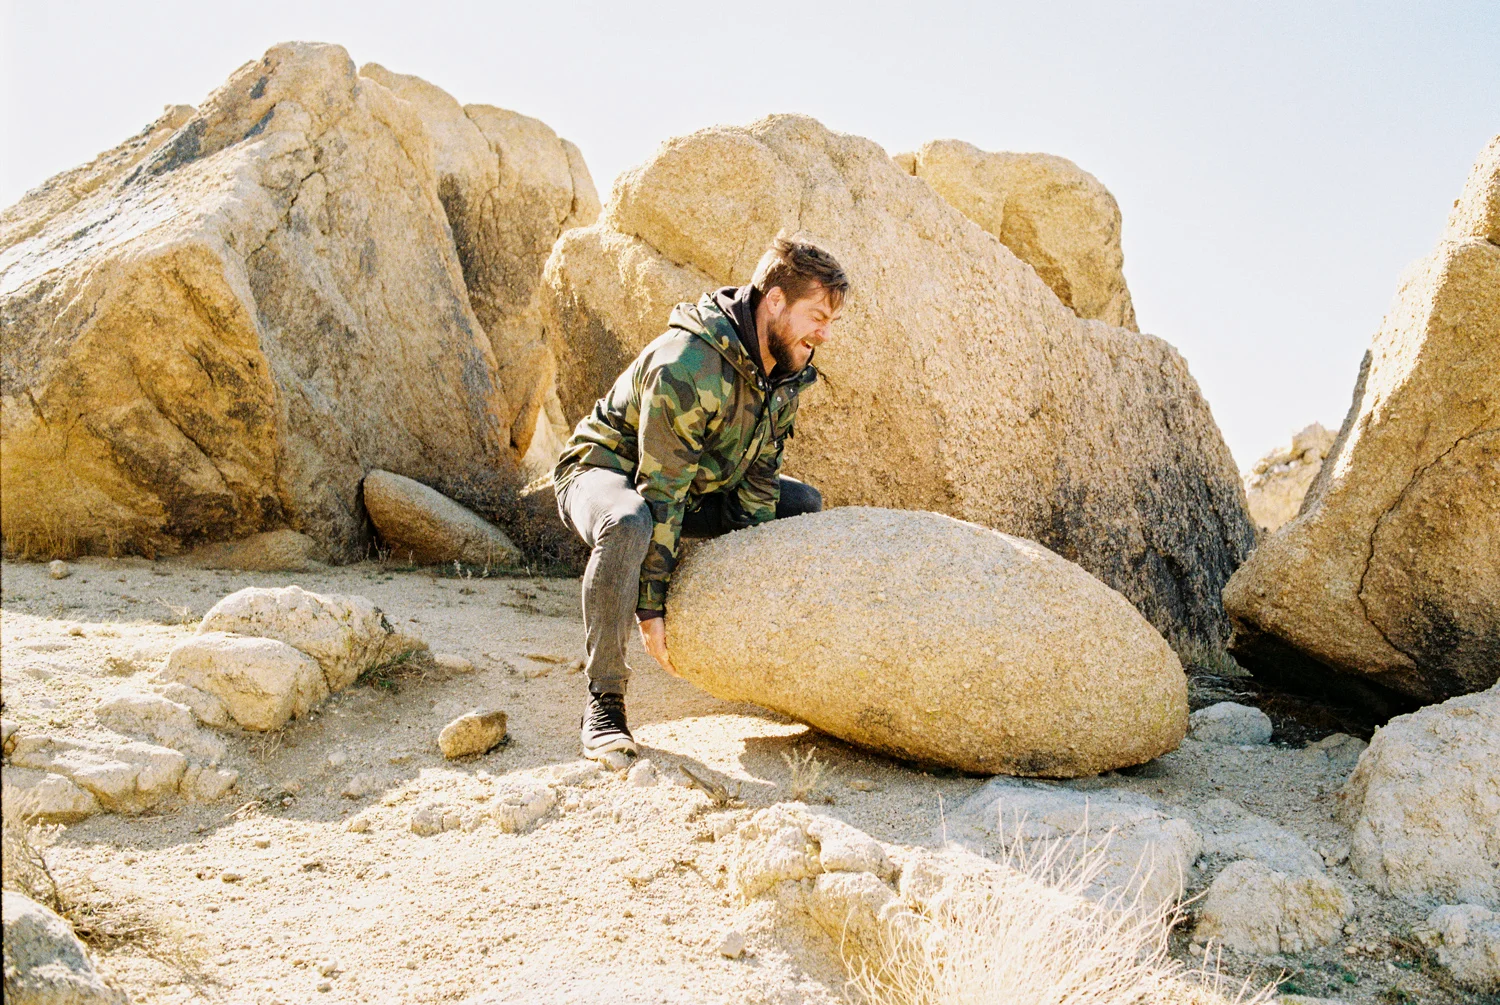
Kodak Pro Image 100 Review! Now available in the USA!
Today, I review Kodak’s Kodak Pro Image 100 film! This film is now shipping from US distributors! Read more!

Kodak Pro image 100
Review and Film Scans
In 2018 it was recommended that I try a Kodak stock that I had never heard of, Kodak Pro Image 100! The only caveat was that it was available only in Europe. No big deal, however, as there were numerous eBay sellers shipping internationally. So, I had placed my first order for a new, inexpensive “Pro” stock to try out.
I had done a bit of research on this stock prior and had come across a few stunningly warm and vibrant images on Instagram. Needless to say, I was excited for what was in store.
Warner Brothers Studios backlot, LA
Contax T3
Kodak Pro Image 100
Warner Brothers Studios backlot, LA
Contax T3
Kodak Pro Image 100
THE EXPERIENCE:
Kodak Pro Image 100 is a very fine grain stock, and I was excited to try something that was a step up from the Kodak Gold lines. I don’t really haven’t found any real negatives about this film other than wishing that Kodak had released an ASA 400 version for a bit more flexibility. ASA 100 is pretty limiting once the sun drops below the horizon, but for everything else during the day it’s a wonderful replacement to Kodak Golds 100, 200, and 400 stock.
Cahuenga Blvd, Los Angeles, CA.
Contax T3
Kodak Pro Image 100
SHOOTING KODAK PRO IMAGE 100:
One of the most frequently asked questions with film stocks is how the film handles overexposure or underexposure. This is one area that Pro Image 100 is a bit sensitive. This stock doesn’t like too much overexposure nor underexposure. I’ve found that rating the film at box speed (ASA 100) will yield you the best results in terms of color and tonality balance. When overexposed, the highlights and whites seem to burn out and break at least a few stops shorter than the Portra 400 and Fuji 400H stocks. Underexposure will, of course, lift grain levels and shots are very difficult to recover during scanning. These are the ONLY negatives that I’ve experienced shooting and scanning Kodak’s Pro Image 100 stock. Otherwise, it’s a fantastic film for professional, casual, and travel work. More below…
Morrison St, North Hollywood, CA
Contax T3
Kodak Pro Image 100
Morrison St, North Hollywood, CA
Contax T3
Kodak Pro Image 100
Malibu, CA
Contax T3
Kodak Pro Image 100
FIRST SCANS:
WOW! I’m actually very happy with the results! Kodak Pro Image 100 looks as if it could be the love child between Kodak and Fuji. It adapted Kodak’s warmer looks but with the pastel tones of Fuji’s 400H stock! The stock has taken the best looks about both film manufacturers, and it’s final result is great to admire. Sharp detail and grain seem to play very well for an inexpensive “Pro” film stock. Be sure to expand the images to view them larger.
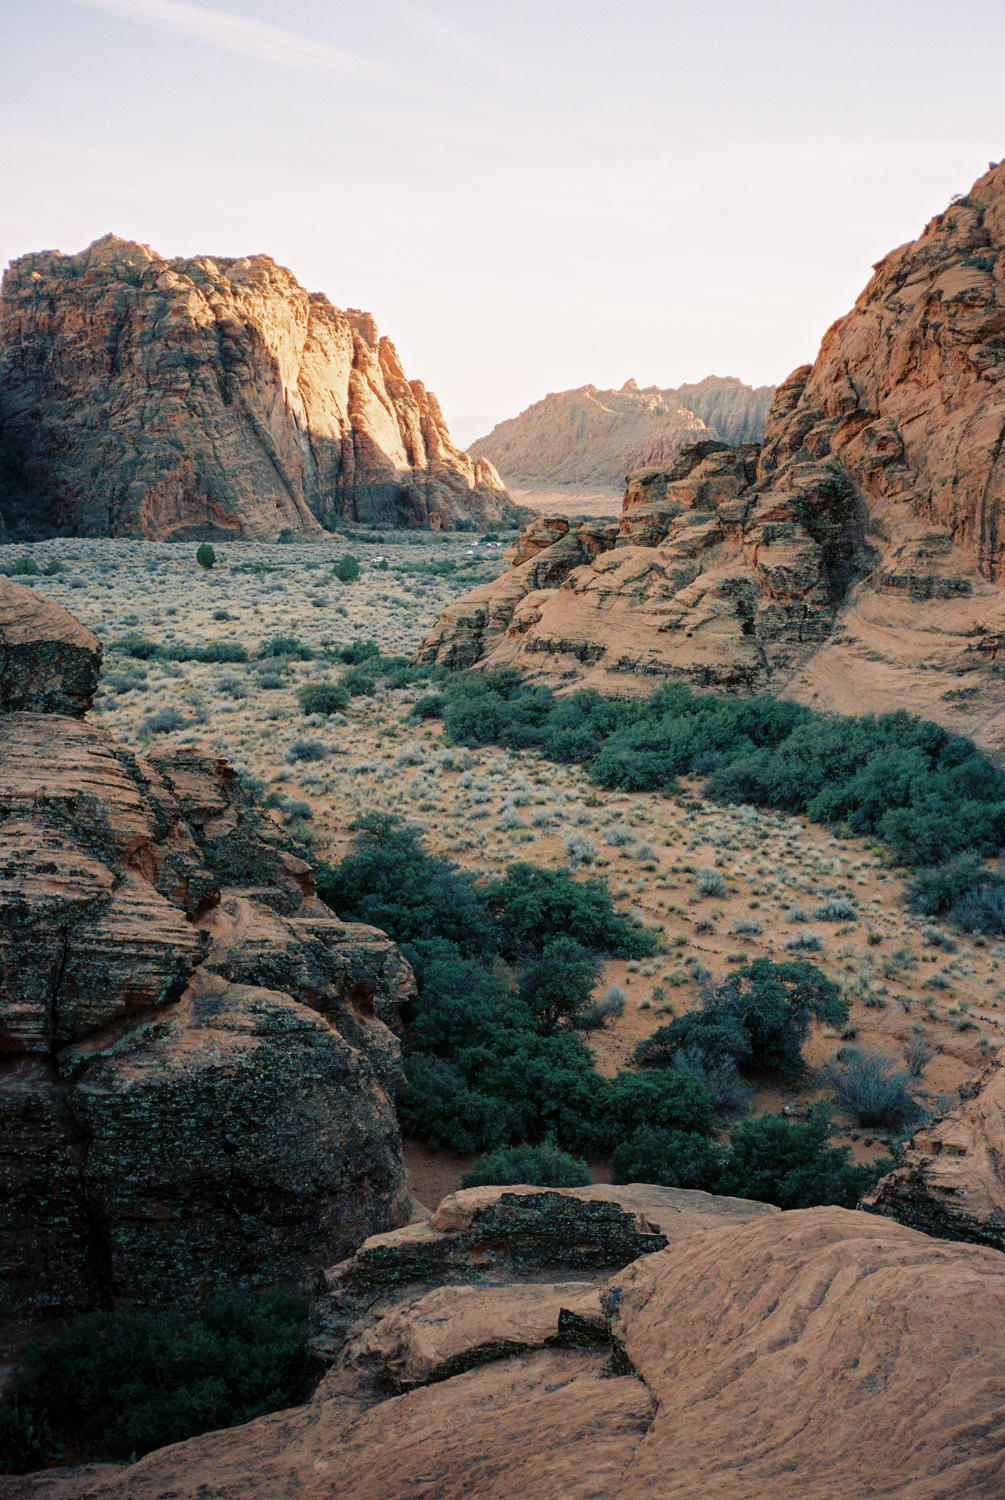
Cali Deserts
Hexar AF
Kodak Pro Image 100
Cali Deserts
Hexar AF
Kodak Pro Image 100
Cali Deserts
Hexar AF
Kodak Pro Image 100
Cali Deserts
Hexar AF
Kodak Pro Image 100
CONCLUSION:
Kodak Pro Image 100 is likely to be my ongoing travel film of choice. It’s inexpensive, it’s clean, the colors are wonderful, and it’s readily available in the US from B&H Photo for $27.99 USD as of this posting. That’s a big win for us C41 shooters looking to save money but still find quality results from our negatives. So be sure to pick up a pro pack and enjoy the rest of your summer shooting this wonderful stock!
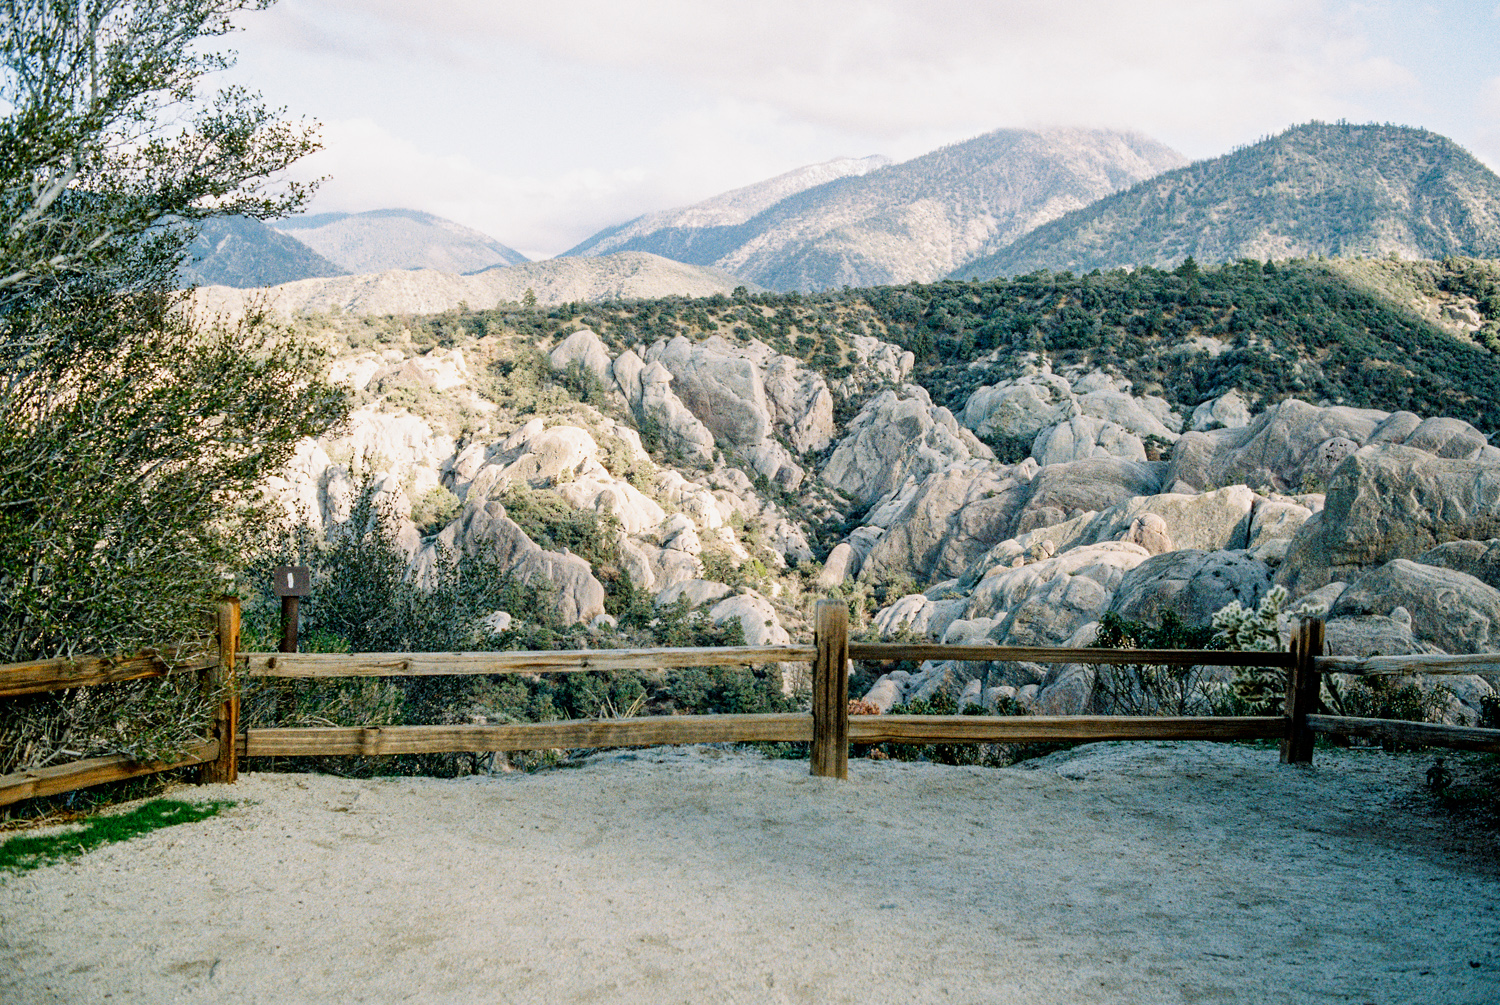
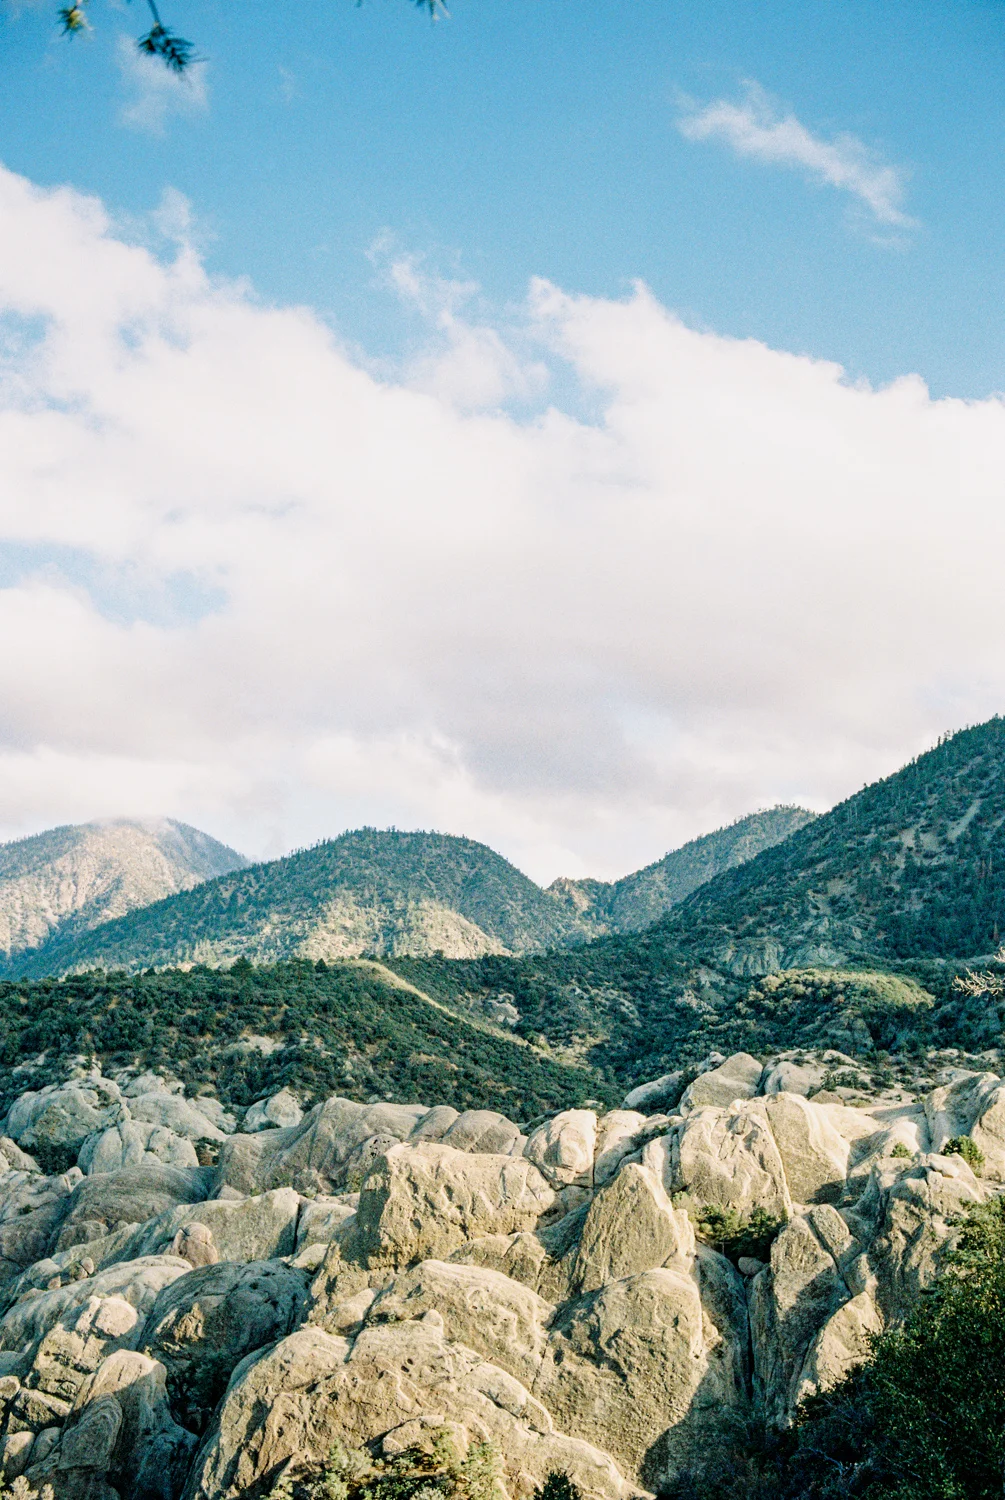
Devil’s Punchbowl, California
Hexar AF
Kodak Pro Image 100
Devil’s Punchbowl, California
Hexar AF
Kodak Pro Image 100
Devil’s Punchbowl, California
Hexar AF
Kodak Pro Image 100
Devil’s Punchbowl, California
Hexar AF
Kodak Pro Image 100
Fuji XT20 - Review
My first time using a Fuji X-Series camera…It’s pure joy!
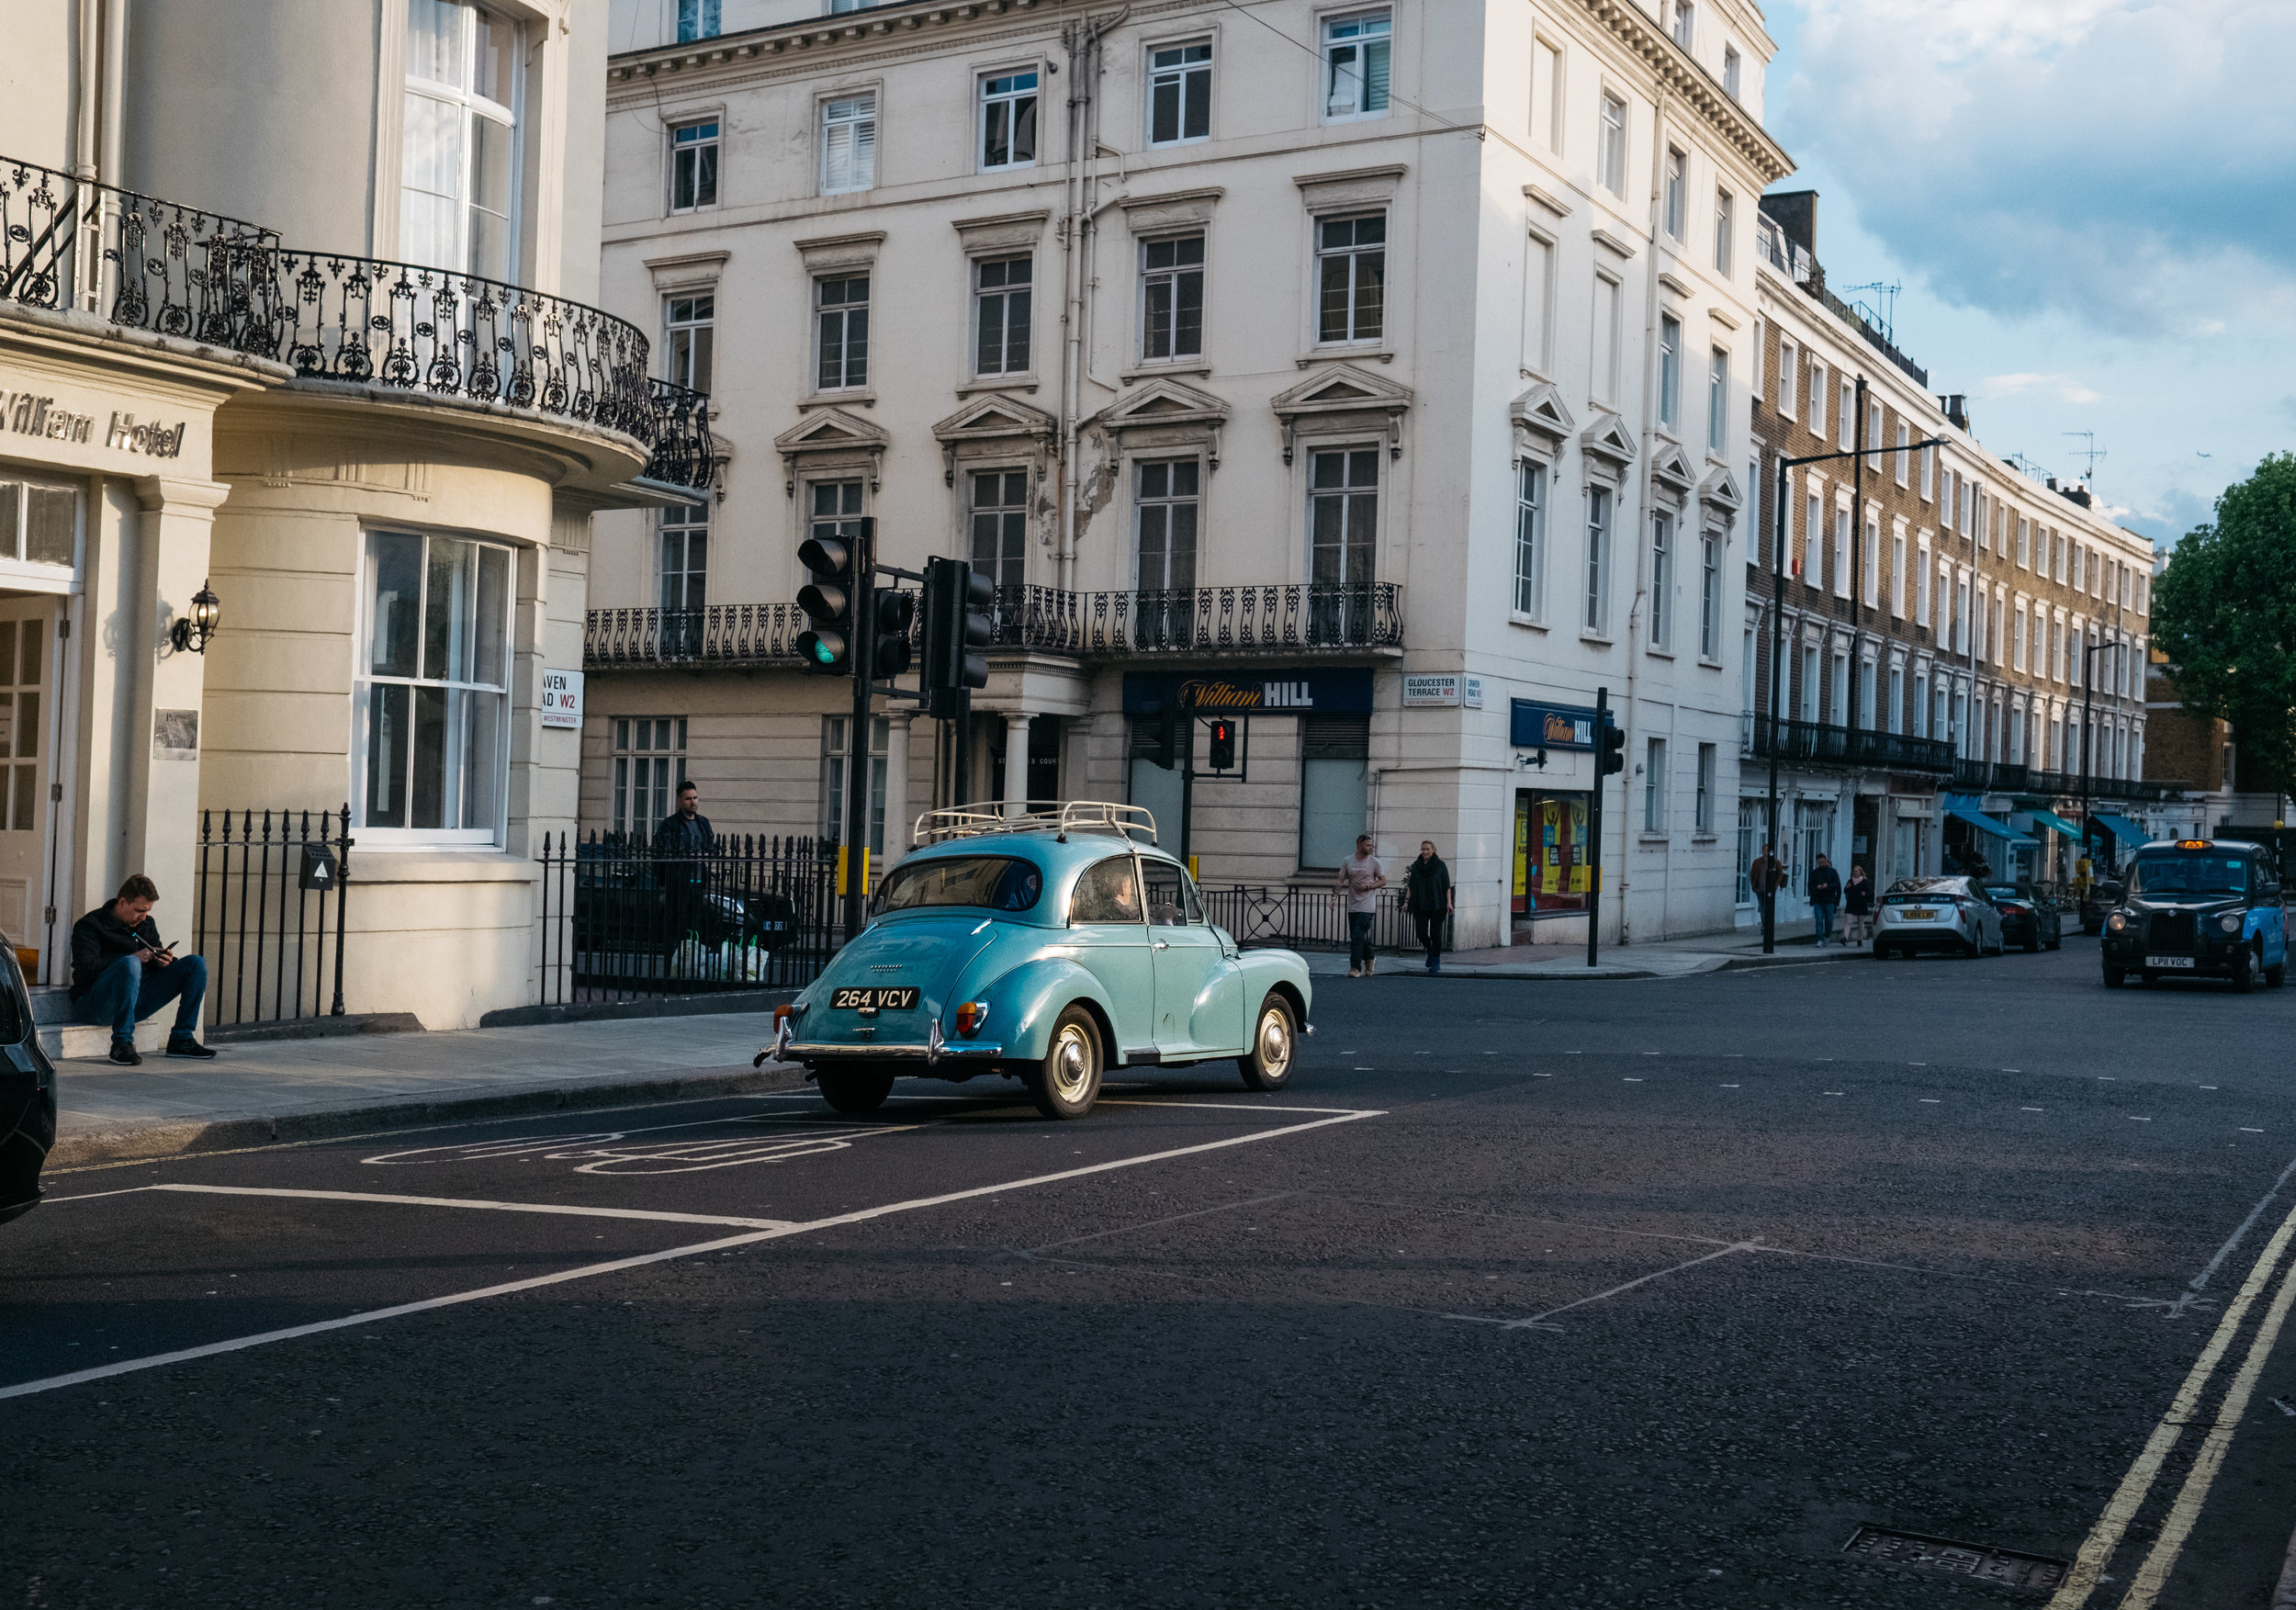
Fujifilm X-T20
In London, U.K.
GEAR:
Lightroom CC + Mastin Labs + VSCO+ iPhone X
Apple Lightning to SD card reader (for downloading and editing RAW files on iPhone)
EXPERIENCE:
I had purchased a used X-T20 body and lens from sellers across the web. The Fujinon 23mm F1.4 came from Forrest Walker (website) whose candid street work is stunning and fascinating to me.
Before our trip to London, I wanted to source a small, mirrorless travel camera to pair with my compact 35mm film cameras (Olympus Stylus Epic and Contax T3). The older model X-T20 seemed like a good fit (no pun intended) — so that was where I started. This was also my first time stepping away from Canon DSLRs as my travel digital camera…and that excited me to say the least.
First off, I was torn between the Fujifilm X-E3 and the X-T20. I liked the rangefinder style and aesthetics of the X-E3 more, but the flip out screen of the X-T20 ultimately won me over. I enjoy handling and shooting the X-T20 just as much as I like processing its raw files. Gripping the body of the camera feels just like old film cameras from decades ago. Fuji really dominated it with the stylish looks and feel of their X-Series lineup. It’s a complete 180º from how it feels to handle a Canon DSLR. Shooting with the X-T20 packs fun and excitement into shooting everyday events…and even portraiture! I feel a strong connection with the process from the moment I turn on the camera, to the editing, and delivery. Needless to say, I haven’t had this much fun shooting a digital body in years.
Shooting and executing “the shot” with the X-T20 isn’t as fast as what I am used to with the full-frame professional cameras from Canon such as the 5D and 6D series but that was expected so I anticipated extra planning with some shots in the city. Navigating buttons and changing focal points isn’t as easy and quick as the other pro camera brands but this could also be due to my lack of knowledge as I am still learning about this camera. I’d really need to test out this camera at a wedding or a larger event to see how it fares under tougher shooting conditions where the pro DSLRs usually dominate.
London Cab near Hyde Park
FEATURES:
The Fujifilm X-T20 comes with an 24mp APS-C X-Trans III sensor. Even though it is a cropped sensor I have surprisingly been able to look past that to find insanely sharp, detailed, and color-rich images come out of it. I’m actually blown away by how capable it is in competition with the full-frame market (not all scenarios, of course).
My favorite aspect about mirrorless bodies is that I am able to see a better example of the image that will be captured, how highlights and shadows look, as well color reproduction and depth of field – all through the back touch screen or electronic viewfinder. Mirrorless is the future and I’m excited to see what else major camera manufacturers will produce under this this technology.
The camera has two shutters to choose from; electronic or mechanical. There are advantages to using each. I particularly enjoy using the mechanical shutter because you still get to feel the vibration of the shutter clapping downward as the image is captured. The electronic shutter is fantastic for shooting under stealth conditions. I’ve been using this mode a lot while I am on sets, and it’s perfect during live takes where a sound person is running audio on an actors dialogue.
A few other key features of the X-T20 are:
Internal 4k Video capture @ 100Mbps (10 minutes per clip).
Automatic panoramic mode.
325 focusing point (91 in center 40% of screen are used with phase detection for fast and more precise focusing.
Various Film Simulation effects such as Acros 100, Classic Chrome, Provia, Velvia, Astia, and more.
14 fps raw image capture with the electronic shutter, and 8 fps raw image capture with the mechanical shutter.
Touch screen.
WiFi image transfer to smartphone
LENSES:
XF 23mm F1.4 R was my choice lens to start my Fuji X-Series journey with. I debated between this one and the XF 16mm F1.4. But the 23mm was a better choice since it is multipurpose and serves as a great portrait lens yet still wide enough for street, cityscape, and landscape photography. There is a less expensive 23mm F2 option but I knew I’d be happier with the F1.4 version for better color rendition, sharpness, and bokeh patterns.
DIGITAL TO FILM COMPARISION:
I never thought I’d witness it but the X-Trans CMOS sensors seem to produce colors and grain that most mimic that of film. I’m truly blown away by the side-by-side comparisons with my film rolls scanned through my Fuji Frontier SP3000 scanner. It makes sense, however, that Fujifilm would be the ones to best replicate the feel and texture of film with their digital sensors. They’ve had over 80 years of experience in manufacturing countless film stocks (Acros, Provia, 400H, etc.), film scanners, developer chemistry, and film cameras and lenses of their own.
FINAL THOUGHTS:
I think I will always have a spot reserved in my bag for an X-Series setup. Taking this camera on my trip to London was one of the most fun times I’ve had traveling with a digital camera. If Fujifilm ever decides to release a full-frame line of lenses and bodies I would be an instant convert…and it may just be enough to get me to sell off my beloved Fuji Frontier SP3000 film scanner and a few film cameras. I can’t believe that it’s taken me so many years to have finally tried out a Fujifilm X-Series camera. I am very excited to keep using their cameras and anything else they release years from now.
Panoramic Mode of the X-T20




Hexar AF - Review
The Hexar AF is an interest-piquing rangefinder that seems to make waves in the film shooter community from time to time. I first learned about this camera in mid 2017 as I stumbled across a few frames posted online and Instagram. The image that the 35mm F/2.0 lens renders seemed to deliver solid sharpness, smooth contrast, and plenty of room for light to shine through.

Konica Hexar AF
Hexar AF Review
The Hexar AF is an interest-piquing rangefinder that seems to make waves in the film shooter community from time to time. I first learned about this camera in mid 2017 as I stumbled across a few frames posted online and Instagram. The image that the 35mm F/2.0 lens renders seemed to deliver solid sharpness, smooth contrast, and plenty of room for light to shine through. Through my browsing of forums, Flickr, and film blogs, some had mentioned that it was just as good, if not better, than the Contax G series and it's range of Zeiss glass. In a couple of other blogs, it was mentioned that it even rivaled Leica's 35mm F/2 Summicron lens. Full disclosure: I have not shot with either the Contax G series or Leica rangefinders so I cannot directly compare for myself. My next biggest attraction to it was it's price point, coming in at a fraction of the cost of the Contax G2 and Leica rangefinders, so I had to hunt one down to try out.
GEAR:
Hexar AF (Black)
35mm F/2.0
Kodak Pro Image 100
Fuji Frontier SP3000 Scanner
EXPERIENCE:
The camera has a standard rangefinder shape to it; grip-able, boxy, and easy to hold. At first glance, it definitely doesn't seem like it offers much more than it's "Hexa" or six total features (shooting modes, aperture, shutter speed, self-timer, exposure compensation, and manual focus), but the more that I looked into it I was surprised to find out that it delivers a list of features beyond the six standard. Besides the 35mm F2 lens, the most impressive feature to me was its silent shutter, or "stealth" mode – a feature that the original and black Hexar AF came with. However, due to some sort of patent or copyright infringement, this feature was removed... or was it? Come to find out, Konica's engineers implemented the "stealth" mode even into the the later versions. This mode couldn't easily be accessed though. The later versions of the Hexar AF required a specific order of buttons to be pressed before silent mode could be activated (read here). A strange drawback of this camera, however, is its very limiting 1/250 shutter speed limit. So be sure to consider using lower speed films if shooting in bright day light. If you're a studio shooter using PocketWizards this limitation won't be an issue for you. As for some of the other features, I'll break out a few of those below.
FEATURES:
STEALTH MODE: With the original and Black Hexar AF, press and hold the MF button and turn on the camera to any of the P, A, or M modes. Wait for the "L" to appear on the small LCD screen. "Shhhhhh." Stealth mode is now engaged. It remains in this mode until the camera is powered off, then you'll want to repeat the process again if you need to reengage this mode. For later models of the Hexar AF (Rhodium Edition, The Gold Edition, The Titanium Edition, and The Silver Edition), follow the instructions found on this page to enable "stealth" mode. It's so silent that I often find myself second-guessing whether the shutter was fired or not. For street photography this seals the deal for some of you.
MANUAL FILM SPEED CONTROL: The Hexar AF must be in A mode for this feature to work. Hold down the select button until the ISO range number appears. Using the + and - buttons, set your preferred ISO speed against the stock you've actually got loaded. A handy feature in any film camera is the ability to control the ISO setting at which the meter bases it's exposure. For example, if you prefer to err to the side of overexposure with ISO 400 film like Kodak Portra 400, you will want to set the camera's ISO setting to 200. This tells the meter that there is actually a lower speed or "darker" film loaded so it will need to compensate 1 stop overall, hence overexposing the ISO 400 film by one stop. This concept took me a while to grasp but it makes complete sense when you draw it out on paper.
4 OR 15 DEGREE SPOT METER: In "M" mode, the Hexar AF meter will utilize a 4 degree center-weighted area. In "P" and "A" modes, the Hexar AF will use a 15 degree center-weighted area. Especially useful if you're shooting with tricky lighting and require more manual control with exposure.
MANUAL FOCUS (SORT OF): The Hexar AF features a way to set your focus manually but it is sluggish and requires time to achieve. Half-way press down the shutter button to find the focus distance between the lens and subject, then press the MF button to lock focus to that distance. The LCD screen will display the distance that the lens is set to. To release the lens from manual focus, simply press the MF button again.
CONCLUSION: While I am still putting the Hexar AF through various scenarios, I can say that I am impressed. It's a solid camera for the shooter who simply likes to go out and make beautiful images. However, part of me has been struggling to truly enjoy shooting with it, but the other part of me feels like it has some sort of great potential that I haven't been able to fully find out. I will certainly update this posting as my time with the Hexar AF moves forward. It's a great camera with some handy features and a unique look to the images that it creates. I feel that it's worth getting your hands on one to try out at least once.
Check out this frame by @justcallmeloz. A good portion of his IG has been shot with a Hexar AF.
Also, see this frame and this frame by @Steve Broadbank, another talented film shooter.
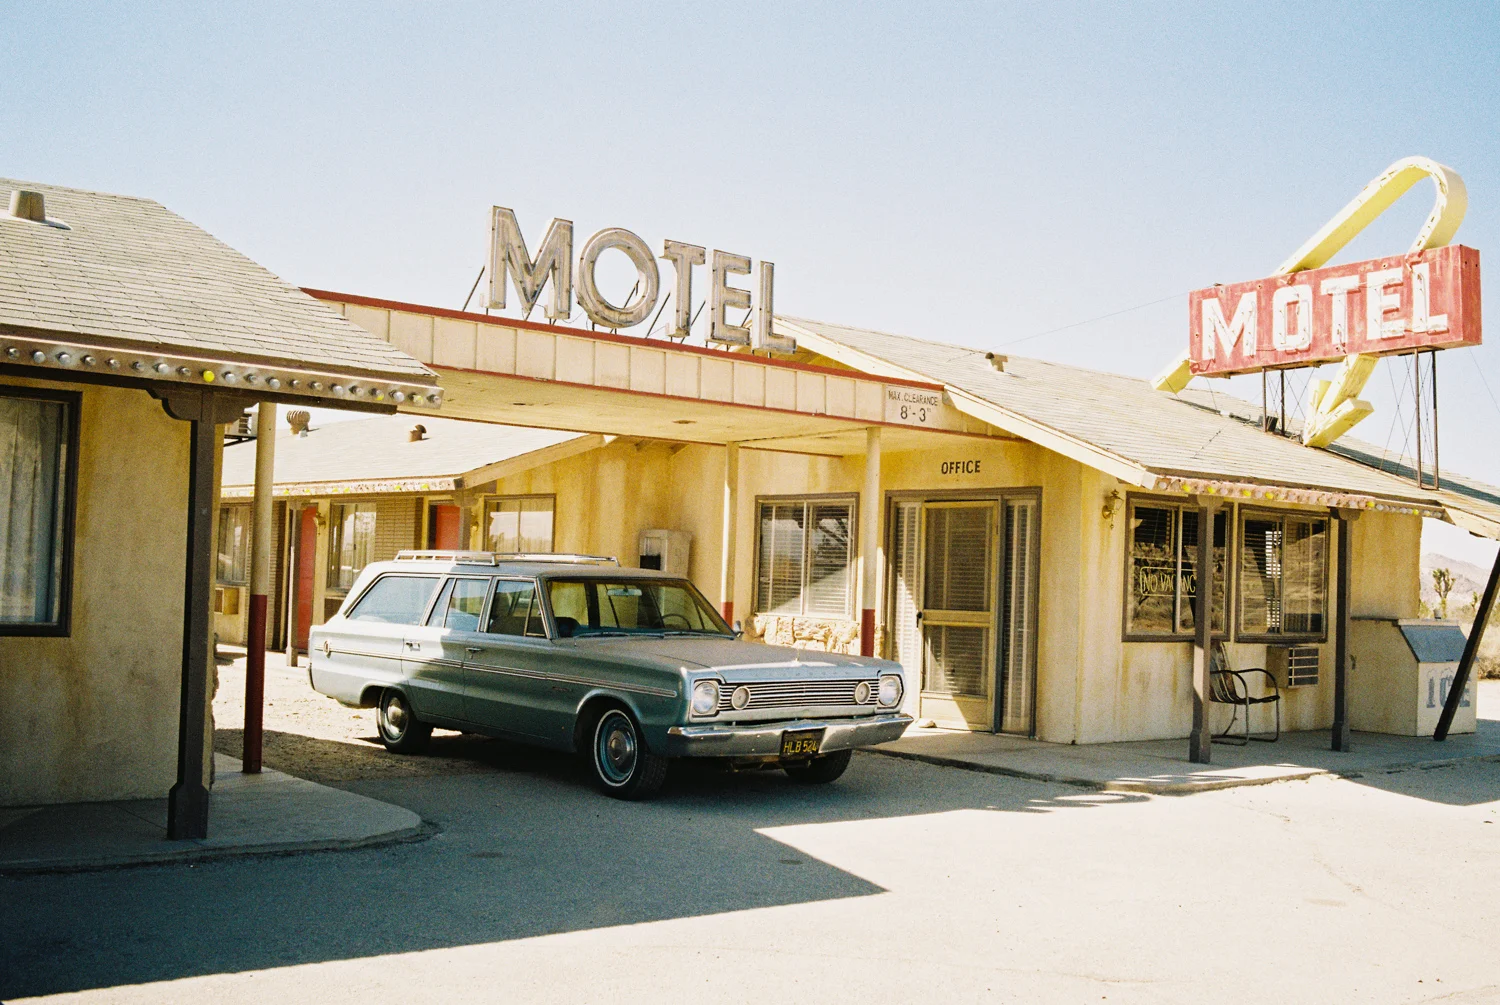






Sources:
https://www.filmshooterscollective.com/analog-film-photography-blog/konica-hexar-a-stealth-camera-for-special-ops-alexander-m-sandy-noble-10-17
https://www.cameraquest.com/konhex.htm
https://www.johanniels.com/index.php/camera-gear-articles/27-konica-hexar-af-the-ultimate-compact-camera
https://www.japancamerahunter.com/2011/09/the-konica-hexar-af-the-quietest-camera-in-the-world/
Contax T3 - Review
The perfect point and shoot camera? Maybe so... Or maybe not. It's all relative, anyway. It's an age-old argument that has been discussed for decades. As most shooters know, beauty is in the eye of the beholder and that's exactly how I hope to approach shooting with different film cameras.

CONTAX T3
The perfect point and shoot camera? Maybe so... Or maybe not. It's all subjective, anyway.
It's an age-old argument that has been discussed for decades. As most shooters know, beauty is in the eye of the beholder and that's exactly how I hope to approach shooting with different film cameras. I'll be the first to admit that I am a sucker for Contax bodies as there is certainly a signature look that they achieve. Most of that look lends thanks to the T* coated lens lineup. I'd like to discuss my thoughts on shooting with a Contax T3 and how I feel it compares to a close contender, the Olympus Stylus Epic.
GEAR:
Contax T3 (Black)
35mm F/2.8 Zeiss T* lens
Kodak Pro Image 100
Fuji Frontier SP3000 Scanner
GENERAL:
I picked up my T3 from a seller I found on Instagram. As with most T3s, at some point in their lifespan, this one needed a new film take-up spool to be installed. Unfortunately, they are built with a plastic spool that has a single tooth that wears down with usage and eventually renders the body useless until repaired. I had the camera sent to Nippon Photo Clinic; one week and a $250 parts-and-labor repair later, I had a perfectly functioning T3. Time to shoot!
Contax T3 + Portra 160
Contax T3 + Portra 160
THE EXPERIENCE:
Holding the camera feels great. It feels well-built, solid, and easy to use. It is definitely a body that I want to protect from scratches or markups of any kind so I was happy to have purchased it with a neck strap that wraps the camera in a leather half-case holder. Shooting with it is about as straight forward as you'd want a point and shoot to be. Flip the switch to "P" mode and take your shot. Simple is great for a small camera like this. Another aspect that I really appreciate about this camera is it's manual control. If I see a shot that could use certain depth of field, or a subject to be metered darker or lighter, I have that ability. Lock in the lens at F/2.8 and you've almost obtained total control over your portrait session. The one thing stopping that is its shutter speed is still counter measuring against the F-stop setting you are using. The best way to get around this is to utilize the T3's exposure compensation feature. To understand more about exposure compensation, it's very handy to learn about the F-stop range on the aperture scale, lighting ratios, and metering. This, of course, develops along with your shooting style over time.
FOCUSING:
Keep in mind that there is no easy, efficient way of seeing exactly where the T3 will be focused (more on this in a bit) so be sure to lock in on your subject or point-of-interest at the center of the frame. I'd say that around 80-90% of my quick shots were in proper focus. No focus system is perfect, especially with the older technology in most of these cameras. At a half-press of the shutter, the T3's display will show the distance that the lens is focused and ready to release. If you're skilled in US-to-metric conversions, this should be easy enough to understand – lucky you! For others, it may not make much sense to know how far 5 meters is, and by then the moment may be lost. If you're locked in place and anticipate the distance of a subject, say on a fashion runway or walkabout street-style scene, you can program the T3 lens to focus at varying focal lengths – which is handy, but a time consumer to switch back and forth when you need to. In the end, this is still just a point-and-shoot experience, so you're generally expected to shoot it as such.
Contax T3 +Kodak Pro Image 100
Contax T3 +Kodak Pro Image 100
VS OLYMPUS STYLUS EPIC/MJU
Prior to owning and shooting with the T3, I had been using an Olympus Stylus Epic DLX (gold and black versions) for a few years. Both cameras produced tack sharp images that compare very similarly to the T3. The major difference, for me, is the color rendition. There's always something to be said about Zeiss glass, but that's not to say the Stylus Epic renders poor color. It actually renders out fantastic color, and it works for the majority of scenes that I've shot it with. Maybe it's the placebo effect, but I feel that the T3's overall image is more consistent, smoother, and "perfect" in detail, color, and resolution. I don't have a single issue taking the Stylus Epic through dirty situations, whereas I feel that I need to treat the T3 like a nice pair of boots or luxury car. I hate to see it dirty or suffer through a dust storm – it's just too nice (and expensive) of a body to risk having it damaged. Both cameras are top choices for me but the Stylus Epic falls behind in a very close second.
Contax T3 + Pro Image 100
Stylus Epic + Pro Image 100






Search Posts
-
2018
- Mar 31, 2018 Contax T3 - Review
- Apr 20, 2018 Hexar AF - Review
- Sep 9, 2018 Olympus Stylus Epic vs Contax T3
-
2019
- Jan 9, 2019 Julbo Eyewear
- May 15, 2019 Pentax 6x7 MLU
- May 15, 2019 Fuji XT20 - Review
- Jun 15, 2019 London on Film
- Jul 22, 2019 Kodak Pro Image 100 Review! Now available in the USA!
- 2020